 Skip to content
 The adjustable carburetor is one of the best parts of the Briggs and Stratton engine. If you are looking for Briggs and Stratton carb diagrams, you are at the right place. It provides the option of a proper mixture of gas and air to free the piston.
This guide will be your roadmap to becoming a carburetor expert, leading you to the right Briggs & Stratton carburetor adjustment diagram. We’ll equip you with the knowledge to get your mower purring like a champion once again. You will find all the relevant information about the Briggs and Stratton carb adjustment diagram here. We will discuss the diagram with instructions, so let’s start!
Briggs and Stratton Carburetor Diagram
The key to better efficiency is the perfect air and fuel ratio that is not too lean and rich. The disturbance in this ratio results in the carbohydrate efficiency factor becoming almost zero. However, this is not good news; you may need some carb adjustments. Here is the Briggs and Stratton Carb parts diagram that will help you understand the engine better.
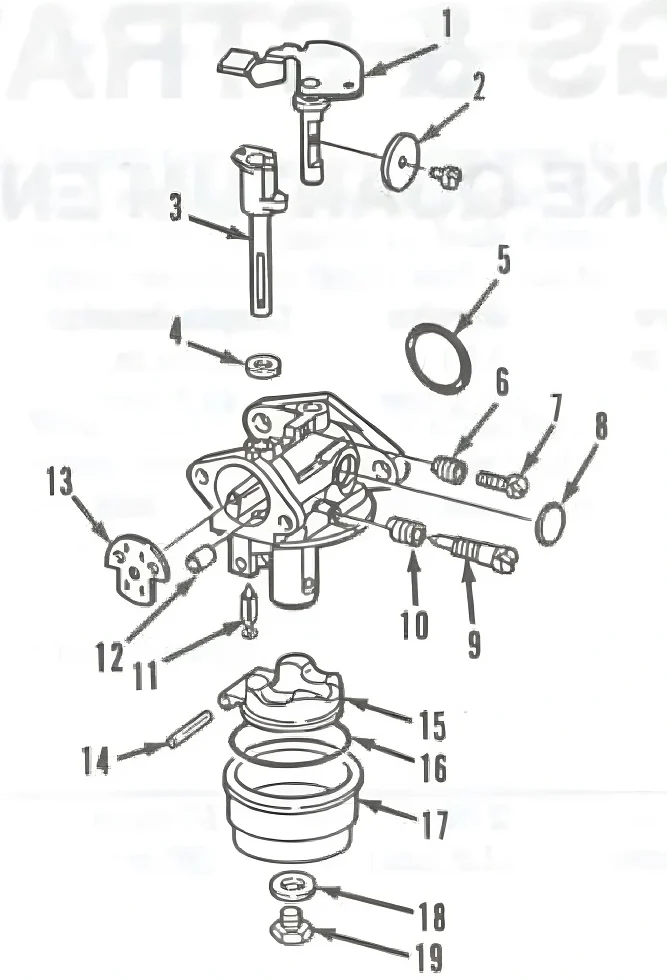
This diagram easily locates the vital parts of the adjustment process. We will discuss them below to help you resolve the issues. This diagram will help you understand the parts of the engine. In addition, it also gives you a proper understanding of how to boost the carburetor’s efficiency.
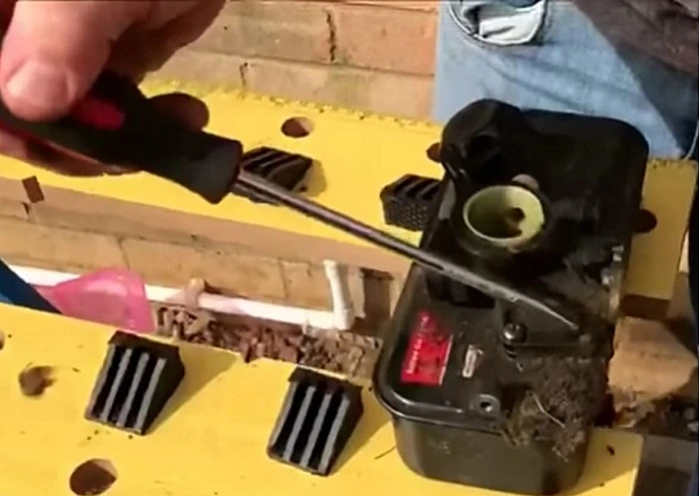
You can see an idle adjustment screw on the side part of the carburetor, but there are two screws. You can use these adjustable screws to alter the air and fuel mixture. They are like flat-head screws; you can quickly turn them using a screwdriver.
You can adjust the amount of fuel and air with specific tools; there is no rocket science behind these adjustments. You will also notice a spring wound around the shaft. However, the carburetor in a Briggs and Stratton machine is found on the side or top of the engine, and it may also depend on the type of machine you use.
Let’s have a look at the adjustment below!
How To Adjust The Carburetor On A Briggs And Stratton
Adjusting the carburetor is essential if you want to operate your machine continuously. You can also make such adjustments when you buy the machine to save fuel and meet the load you want to put through it. The carburetor is a piece of equipment that helps to mix the air and fuel in the perfect ratio in the engine’s cylinder, which is the site of combustion.
However, with time, the carburetor’s efficiency becomes low or provides a too-rich or too-lean ratio of air and fuel. So, the mixture becomes less reliable, and those carb adjustments will become more critical.
For the carburetor adjustments, there is only a need to loosen or tighten a few screws. Although the carburetor’s factory adjustments ensure optimal performance, the speed, mixture settings, engine, and RPMs. But sometimes the disturbance in these components requires you to resolve these issues yourself.
Follow the below steps if you want to adjust your carburetor on a Briggs and Stratton.
Tools Needed For Adjustments
It would be best if you had some essential tools for adjustments of Briggs and Stratton carb:
- Screwdrivers
- A pair of safety gloves
- Wrench
- Set of pliers
- Tachometer or RPM gauge
- Set of pliers
- Carburetor cleaner
Now you have tools then follow these steps for Briggs and Stratton carburetor adjustments:
Step 1
Before starting, prep your lawnmower by running its engine so that it will warm up for up to five minutes. Pull the lever of the choke to the slow position and turn the mover into a bent shape. After this, note down the sound and noise level of the engine in this position. Now turn off the ignition and let it cool for a few minutes. Stop the mover from rolling and set the parking brakes and driver gear to a set position.
Step 2
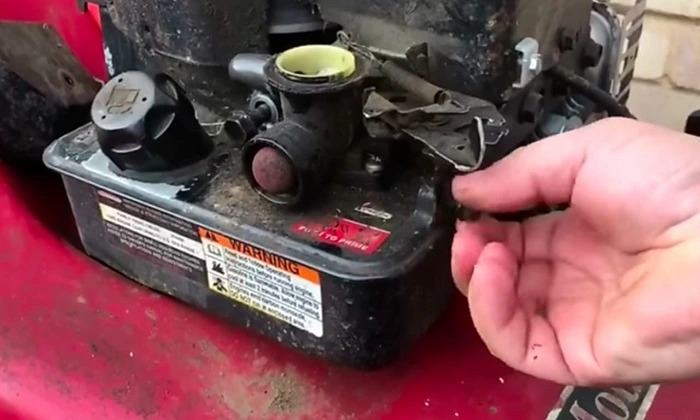
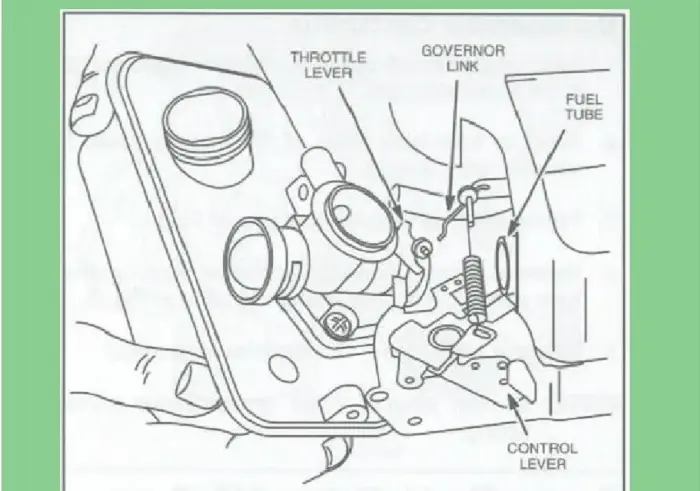
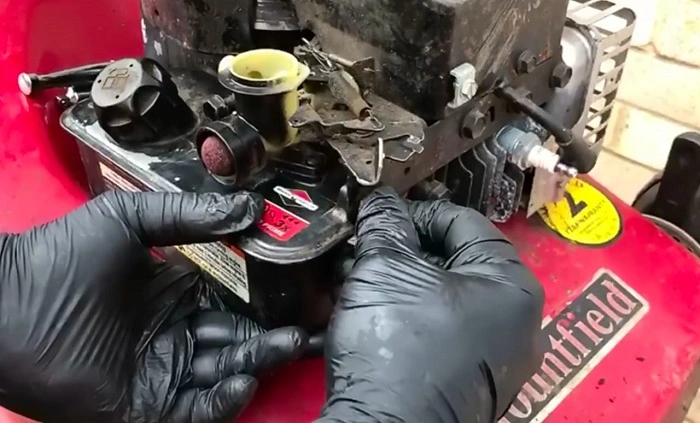
After this, locate the adjusting screws of your carburetor. Mostly there are two idle adjustment screws at the top of the carburetor. To get the filter to unblock the nut on the cover of the filter and remove its casing. Place all of the nuts and screws in a safe place for re-installation. Now, using a carburetor cleaner, remove all the dirt and debris.
Step 3
Pick up a screwdriver compatible with the screws and rotate the idle screws in a clockwise direction. Keep rotating until the needle on the end touches the carburetor’s casing. Then turn the screw up to 15 turns counterclockwise. It is an ideal tightening, but you can adjust it according to your requirements.
Step 4

There is a central jet adjustment screw at the bottom of the float bowl, and this location may also depend on the type of your carburetor. Adjust the central jet screw and turn it clockwise until the needle of the screw touches the base. Then turn the screw up 1.5 turns counterclockwise, and you can give 2 turns to provide the lean mixture.
Step 5
After making the adjustments, start the engine and let it run for a few minutes. Now check the engine’s sound and adjust the screws clockwise and then counterclockwise. Keep doing this until you get the proper tuning. When you hear the sound of the engine being right, start re-installations, place the air filter’s casing, and tighten the screws.
Important Points While Doing Carburetor Adjustment
The speed mentioned by the manufacturers is the limit. Try to avoid crossing it while warming or running the engine.
- Consider carburetor adjustments if there is any difference in altitude, temperature, fuel, or load. But don’t make any changes in any other case.
- Ensure the carburetor’s cover is adequately assembled when starting the engine.
- Also, know whether the engine’s carburetor has low emission.
- There is a valve with the limiter and an idle speed adjustment screw.
- Only try to force them within limits and never detach the limiter caps.
Conclusion
To adjust your Briggs And Stratton Carb you need a proper guide and help. This blog includes all the information that will help you adjust Briggs and Stratton. The instructions with the carb diagram give you the way to conduct the whole process. It is clear now that the proper adjustments of the carburetor are significant in saving your engine’s life, so don’t delay these adjustments.
FAQs
1. What are the symptoms of a lousy carburetor?
Identifying the lousy carburetor of Briggs and Stratton is easy with the help of a few symptoms. The engine’s performance will reduce, and black smoke may also come out of the exhaust pipe, which is one of the big signs. If there are starting difficulties, then it is also a symptom of a bad carburetor. In the end, the engine will start to overheat or backfire. It is due to the carburetor.
2. How often do carburetors need to be cleaned?
It is good to clean the carburetor whenever you change the oil. If you want a figure idea, clean it after 3000 miles or after every six months.
3. What is the process of Briggs and Stratton carburetor Identification?
The engine contains the stamp of type, code, and model, and you can use them to identify Briggs and Stratton carburetor. The model number is mainly stamped on the lawnmower engines into the blower housing, above the spark plug, and on the muffler heat shield.
Muhammad Kashif is a gardening expert with an impressive 13 years of gardening experience. His educational background includes a post-graduate degree in Agriculture
